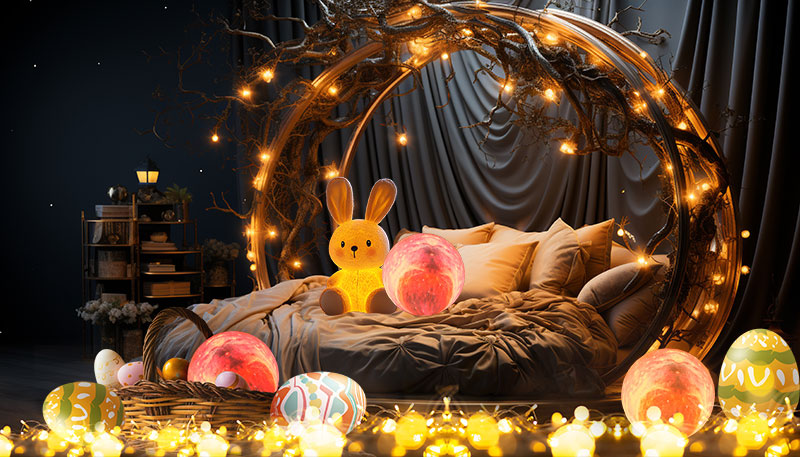
How to Create Simple Easter Light Decorations
Introduction Easter is a time for renewal, joy, and creativity. One great way to brighten up your home for Easter is by making your own DIY Easter light decorations! Whether you're hosting a festive dinner, a family gathering, or just want to bring some holiday spirit into your space, this easy tutorial will help you create delightful, personalized light decorations with a fun, Easter-inspired twist.
Step 1: Gather Your Materials Before you begin, gather the following items:
LED string lights (choose warm white or pastel colors for a soft, Easter vibe)
Easter-themed decorations like plastic Easter eggs, small bunny figurines, pastel-colored ribbons, and floral garlands
A basket or a decorative bowl (optional, for a centerpiece)
Hot glue gun and glue sticks
Scissors

Step 2: Prepare Your LED Lights Start by unrolling your LED string lights and testing them to ensure they're working. If the lights are too long for your space, cut them down to a manageable length. Keep in mind that you want the lights to fill the area you plan to decorate, whether it's a table centerpiece, a mantel, or a wall.

Step 3: Create the Base Design If you're using a bowl or basket as a base, simply place your LED string lights inside. If you prefer a hanging effect, you can use the lights to frame a window or drape them across a shelf or fireplace. Spread the lights evenly to create a subtle glow.

Step 4: Decorate with Easter Elements Next, it’s time to get creative! Attach your Easter decorations—plastic eggs, bunnies, and flowers—onto the lights using the hot glue gun. Make sure the decorations are spread out evenly to avoid overcrowding. Feel free to mix and match different colored eggs, bunnies, and pastel ribbons to create a lively yet coordinated look.

If you have small Easter baskets, you can use them as a base and fill them with the LED lights, ensuring the lights peek through the gaps between the eggs and ribbons. This adds dimension and texture to your design!
Step 5: Add Final Touches To make your decoration truly shine, incorporate some personalized elements. If you want a more customized look, consider adding your favorite family photo on a small frame next to the lights or attaching a meaningful Easter quote to your design. This will not only make your lights more personal but will also spark conversation at your Easter gathering.

Step 6: Place Your Decorations Once your DIY Easter light decoration is complete, place it in your desired location. These lights will add a cozy, festive atmosphere to any room. Whether on a dining table, mantle, or by the window, the soft glow of Easter-themed lights will certainly brighten up your home.

Conclusion With just a few materials and a bit of creativity, you can make your own Easter-themed light decorations that are both fun and easy to create. These handmade lights will be the perfect way to celebrate the season of renewal and bring joy to your home. Happy Easter, and happy decorating!